You probably have shelves and drawers in every room of your home. They hold your bathroom towels and let you decorate your living room with all sorts of eye-catching objects. But like other furniture, they get dirty pretty quickly. You need to clean them regularly to maintain great looks, and seasoned specialists in cleaning services in Northglenn will show you how.
In this article, we’ll give you a step-by-step guide on removing dust and dirt from shelves and drawers. Read on!
How do you clean dirty shelves?
Cleaning your dirty shelves seems simple, but you can’t be reckless. Approach this chore like any other job, like getting rid of stains on the glass, handling the mess behind your furniture, and making your kitchen cabinets look as good as new. Here’s what you need to do:
Declutter
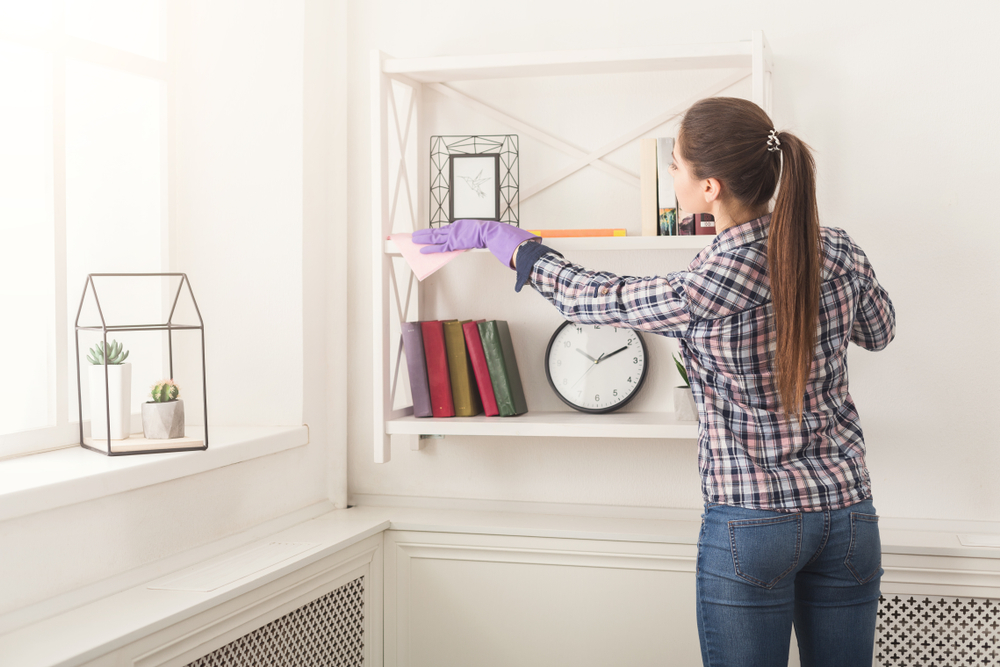
Get rid of everything on your shelves. There’s no need to waste time sorting things out. Put the items in a box or on your couch until you clean the surfaces.
Clearing off your shelves can be an efficient and time-saving approach to cleaning. Rather than spending valuable time sorting through each item individually, removing everything from the shelves allows you to clean the surfaces more effectively and efficiently.
To begin, gather a box or designate a specific area, like a section of your couch, to temporarily store the items from your shelves. Carefully remove each item and place them in the designated spot. This step not only allows you to clean the shelves more thoroughly but also gives you the opportunity to declutter and reorganize your belongings later.
Once your shelves are clear, take advantage of the open space to thoroughly clean the surfaces. Use a microfiber cloth, an appropriate cleaning solution, or a mild detergent to wipe away dust, grime, or any accumulated dirt. Pay attention to the corners, edges, and any hard-to-reach areas. Depending on the material of your shelves, you may need to use different cleaning methods or products to achieve the best results.
After you’ve thoroughly cleaned the shelves, it’s time to tackle the items that were temporarily stored away. This is an excellent opportunity to declutter and reassess what you truly need or want to keep. Sort through the items one by one, deciding whether to keep, donate, or discard each one. Consider factors like usefulness, sentimental value, or whether it fits into your current lifestyle.
As you place items back on the shelves, take the opportunity to reorganize them in a way that makes sense to you. Group similar items together, use storage containers or baskets to keep things organized, and consider any aesthetic or functional preferences you have.
Clearing off your shelves and cleaning the surfaces not only contributes to a cleaner and more organized space but also provides a fresh start and an opportunity to evaluate the possessions you have. It can be a cathartic process that helps create a more streamlined and intentional living environment.
Remember to take your time, enjoy the process, and don’t be afraid to let go of items that no longer serve a purpose or bring you joy. By incorporating this practice into your cleaning routine periodically, you can maintain clean, clutter-free shelves and a space that reflects your needs and personal style.
Clean your bookcase
Pull your bookcase away from your wall and wipe it using a cloth. Dust with another cloth or mop and use soap to remove any smudges and grime.
Pulling your bookcase away from the wall and giving it a thorough cleaning is an excellent way to maintain the cleanliness and appearance of your bookcase. Here’s a step-by-step guide on how to do it effectively:
- Prepare the area: Before moving the bookcase, ensure that the surrounding area is clear of any obstacles or fragile items. This will make it easier to access and clean the bookcase without any hindrances.
- Move the bookcase: Gently pull the bookcase away from the wall, taking care not to damage the floor or strain yourself. Enlist the help of another person if needed, especially if the bookcase is heavy or large.
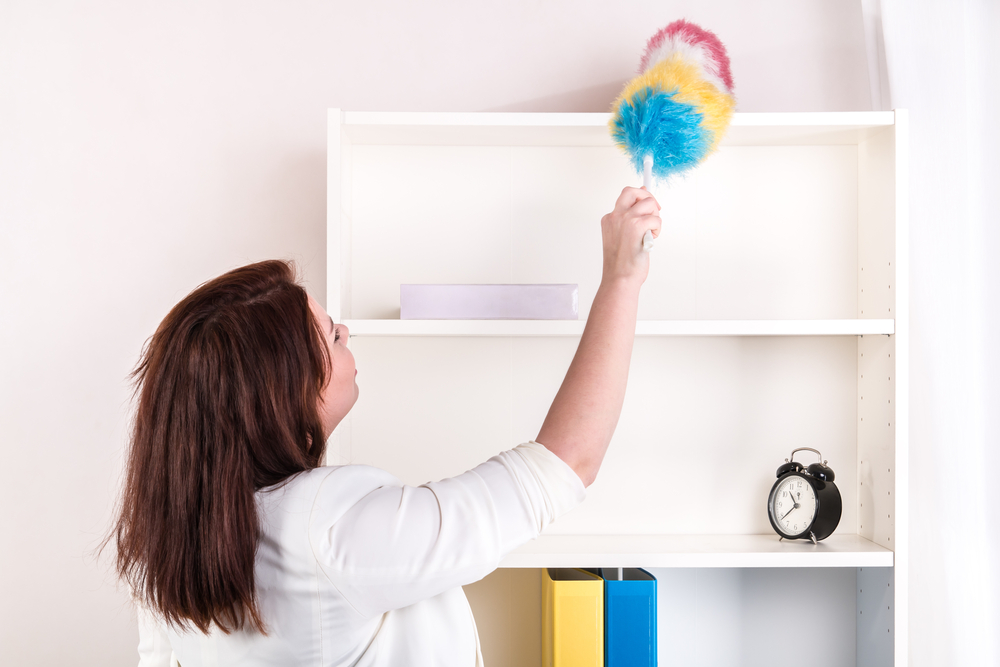
- Dusting: Start by using a dry cloth or duster to remove any dust or loose dirt from the surfaces of the bookcase. Pay attention to the top, sides, shelves, and back panel. You can also use a soft brush attachment on a vacuum cleaner to remove dust from hard-to-reach areas or intricate designs.
- Wiping with a damp cloth: After dusting, dampen a clean cloth with water or a mild cleaning solution. Gently wipe down all the surfaces of the bookcase, including the shelves, sides, and back panel. This will help remove any remaining dust and dirt, as well as any smudges or grime that may have accumulated over time. Be cautious not to saturate the wood or any other material, as excessive moisture can cause damage.
- Addressing stubborn stains or grime: For stubborn stains or grime, you can use a mild soap solution. Dampen a cloth with the solution (avoid excess liquid) and gently scrub the affected areas. Rinse the cloth thoroughly and wipe away any soap residue.
- Drying and repositioning: After cleaning, ensure that the bookcase is completely dry before moving it back against the wall. You can use a clean, dry cloth to wipe away any excess moisture. Once dry, carefully reposition the bookcase in its original location, ensuring it is stable and secure.
By periodically pulling your bookcase away from the wall and giving it a thorough cleaning, you can maintain its cleanliness, remove dust and grime, and prolong its lifespan. Remember to handle fragile items or books with care while cleaning and avoid using abrasive cleaners or harsh chemicals that may damage the bookcase’s finish.
A clean and well-maintained bookcase not only keeps your books and belongings in good condition but also adds to the overall aesthetic appeal of your space.
Treat scratches
Identify any scratches on the shelves and treat them with your microfiber cloth dipped in water. Afterward, use a commercial cleaner to eliminate marks or scuffs. You can also fix scratches on your wood shelves with scratch repair products or similarly colored crayons.
Identifying and treating scratches on shelves is an important step in maintaining their appearance and prolonging their lifespan. Here are some steps you can follow to address scratches on your shelves:
- Inspection: Begin by thoroughly examining the shelves for any visible scratches. Take note of their size and severity.
- Cleaning: Before addressing the scratches, clean the shelves using a microfiber cloth dipped in water. Gently wipe the surface to remove any dirt, dust, or debris.
- Commercial cleaner: If the scratches are shallow or minor, you can use a commercial cleaner specifically designed for wood or the material of your shelves. Follow the instructions on the cleaner and apply it to the scratched areas. Use a soft cloth or sponge to gently rub the cleaner onto the scratches. Afterward, wipe off any excess cleaner and allow the shelves to dry.
- Scratch repair products: For deeper scratches, consider using scratch repair products that are suitable for the type of material your shelves are made of. These products often come with a kit that includes filler material and a tool for application. Carefully follow the instructions provided with the repair kit to fill in the scratches. After applying the filler, use a clean cloth to remove any excess and let it dry as recommended.
- Colored crayons: If you have wooden shelves, you can also try using similarly colored crayons to fill in shallow scratches. Select a crayon that closely matches the color of your shelves and gently rub it over the scratches. The wax from the crayon will fill in the scratches and blend with the surrounding wood. Afterward, use a soft cloth to buff the area and remove any excess wax.
Remember to test any cleaning or repair products on a small, inconspicuous area of the shelves first to ensure they do not cause any unwanted damage or discoloration. Additionally, always follow the manufacturer’s instructions and recommendations for optimal results.
Examine the bottom
If your shelves are made of hardwood, they should come with felt pads on the underside so you can move them easier without scratching the floor or wall. Get rid of any dust or scratches.
Proper maintenance and care for your hardwood shelves are crucial to ensure their longevity and protect your floors and walls from potential damage. If your shelves are made of hardwood, it is advisable to have felt pads attached to the underside of each shelf. These felt pads serve as a protective barrier, allowing you to move the shelves more easily without leaving unsightly scratches on your floors or walls.
To maintain the pristine condition of your shelves, it’s important to regularly remove any dust or debris that may accumulate on their surfaces. Use a soft, lint-free cloth or a microfiber duster to gently wipe away the dust. Avoid using abrasive materials or harsh chemicals, as they can potentially damage the wood finish.
In the event that your hardwood shelves do acquire scratches over time, there are several methods you can try to minimize their appearance. One common approach is to use a furniture touch-up marker or crayon that matches the color of your shelves. Apply the marker or crayon to the scratched area and gently rub it into the wood to fill the scratch. Then, using a clean cloth, wipe away any excess material, blending it with the surrounding wood.
Alternatively, you can also try using a wood polish or conditioner specifically designed for hardwood furniture. Apply a small amount to the scratched area and gently buff it in using a soft cloth, following the manufacturer’s instructions.
Remember, prevention is key to preserving the beauty and functionality of your hardwood shelves. By incorporating felt pads, regularly dusting, and addressing any scratches promptly, you can ensure that your shelves remain in excellent condition while protecting your floors and walls.
Vacuum the surrounding area
Before putting shelves back in their regular spot, vacuum the surrounding floor. You should also dust the baseboard and wall for a thorough job.
In addition to vacuuming the floor, it’s a good idea to dust the baseboards and walls in the vicinity of the shelves. Over time, dust can settle on these surfaces, and when the shelves are moved, they can be disturbed and spread throughout the area. By dusting the baseboards and walls, you’ll achieve a more comprehensive cleaning and maintain a tidy appearance.
To dust the baseboards and walls, you can use a soft, dry cloth or a duster specifically designed for this purpose. Gently wipe or brush the surfaces to remove any visible dust or dirt. If there are stubborn spots or stains, you may need to use a mild cleaning solution and a damp cloth, but be cautious to avoid excessive moisture that could damage the walls or baseboards.
By incorporating these additional cleaning steps, you’ll ensure that your shelves are being placed back in a clean and dust-free environment. This not only helps to maintain the cleanliness of your space but also prevents any potential scratches or damage that could be caused by particles trapped beneath the shelves.
How do you clean drawers?
Drawers experience a lot of wear and tear due to constant opening and closing. They can also accumulate a pile of dirt. Here’s how to return them to their former glory, depending on the type:
- Varnished wooden drawers: Dust with your microfiber cloth and restore shine by scrubbing the surface with soapy water and some vinegar. Finally, wipe the drawers with a cloth.
- Waxed drawers: To clean your waxed drawers, soak a cloth in turpentine or ammonia. Another option is a solution that includes equal amounts of water, white vinegar, and a commercial glass cleaner. Dip a sponge into the mixture, scrub the surfaces, and wipe them with a cloth.
- Painted drawers: Dampen a sponge with soapy water. Then, wipe your painted wooden drawers with a cloth. For stubborn stains, mix ammonia and soapy water. Just make sure to wring out the sponge thoroughly.
- Lacquered wooden drawers: To tackle dirty lacquered drawers, dip a silk or chamois cloth into white vinegar. Apply the cleaner and wipe with a dry cloth. If you’re dealing with hard-to-remove stains, mix turpentine and linseed oil in equal parts and add flour.
Tired of spending hours cleaning your house? Book premier cleaning services in Northglenn and put your feet up!
Northglenn and the surrounding areas are famous for amazing sights, such as the breathtaking Standley Lake. Don’t let pesky cleaning get in the way of visiting them when Blue Spruce Maids are just a phone call away.
Whether you need your shelves cleaned or your bathroom scrubbed, we are your go-to team. Our vast experience and detail-oriented approach will come through for you. Reach out to us for a spotless job!